¶ Add Expenses
¶ Overview
The Expense Request module is used to submit employee expense claims for approval and reimbursement. Employees can create expense requests by entering expense details, adding expense categories, and uploading supporting documents. Submitted requests are routed to the Expense Management module for review and approval.
¶ How to Navigate to Expense Request
To create an expense claim, follow these steps:
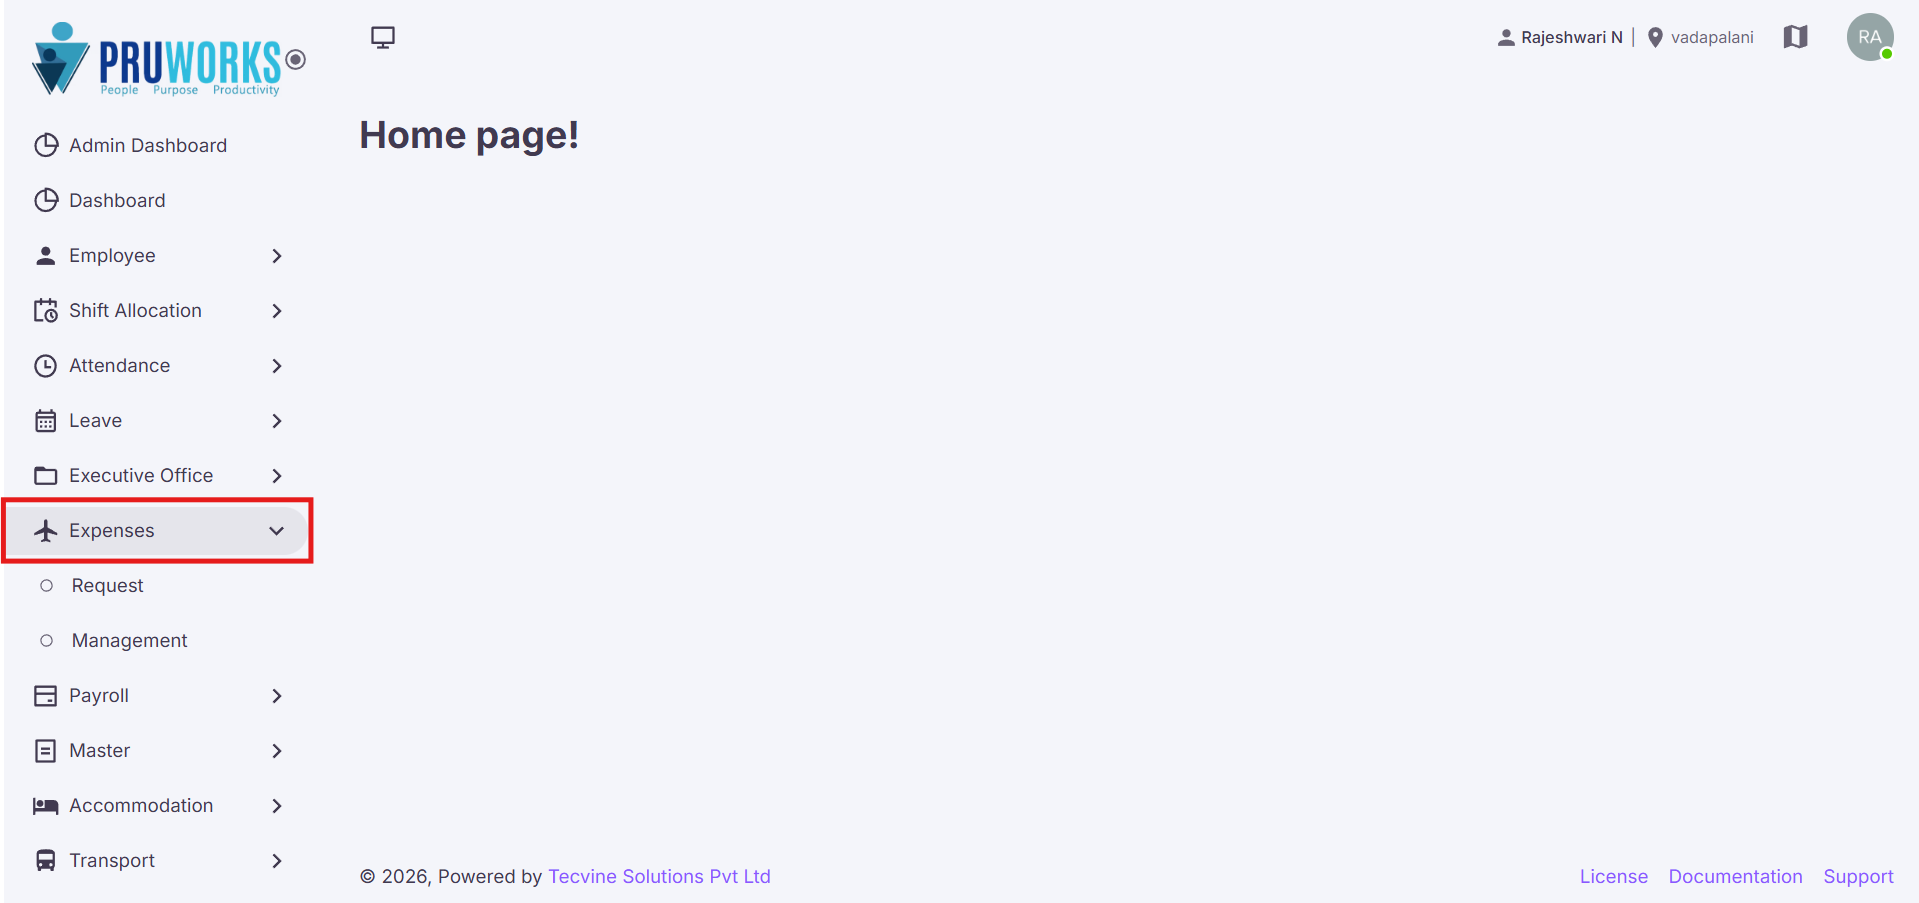
- Navigate to Expenses in the side menu.
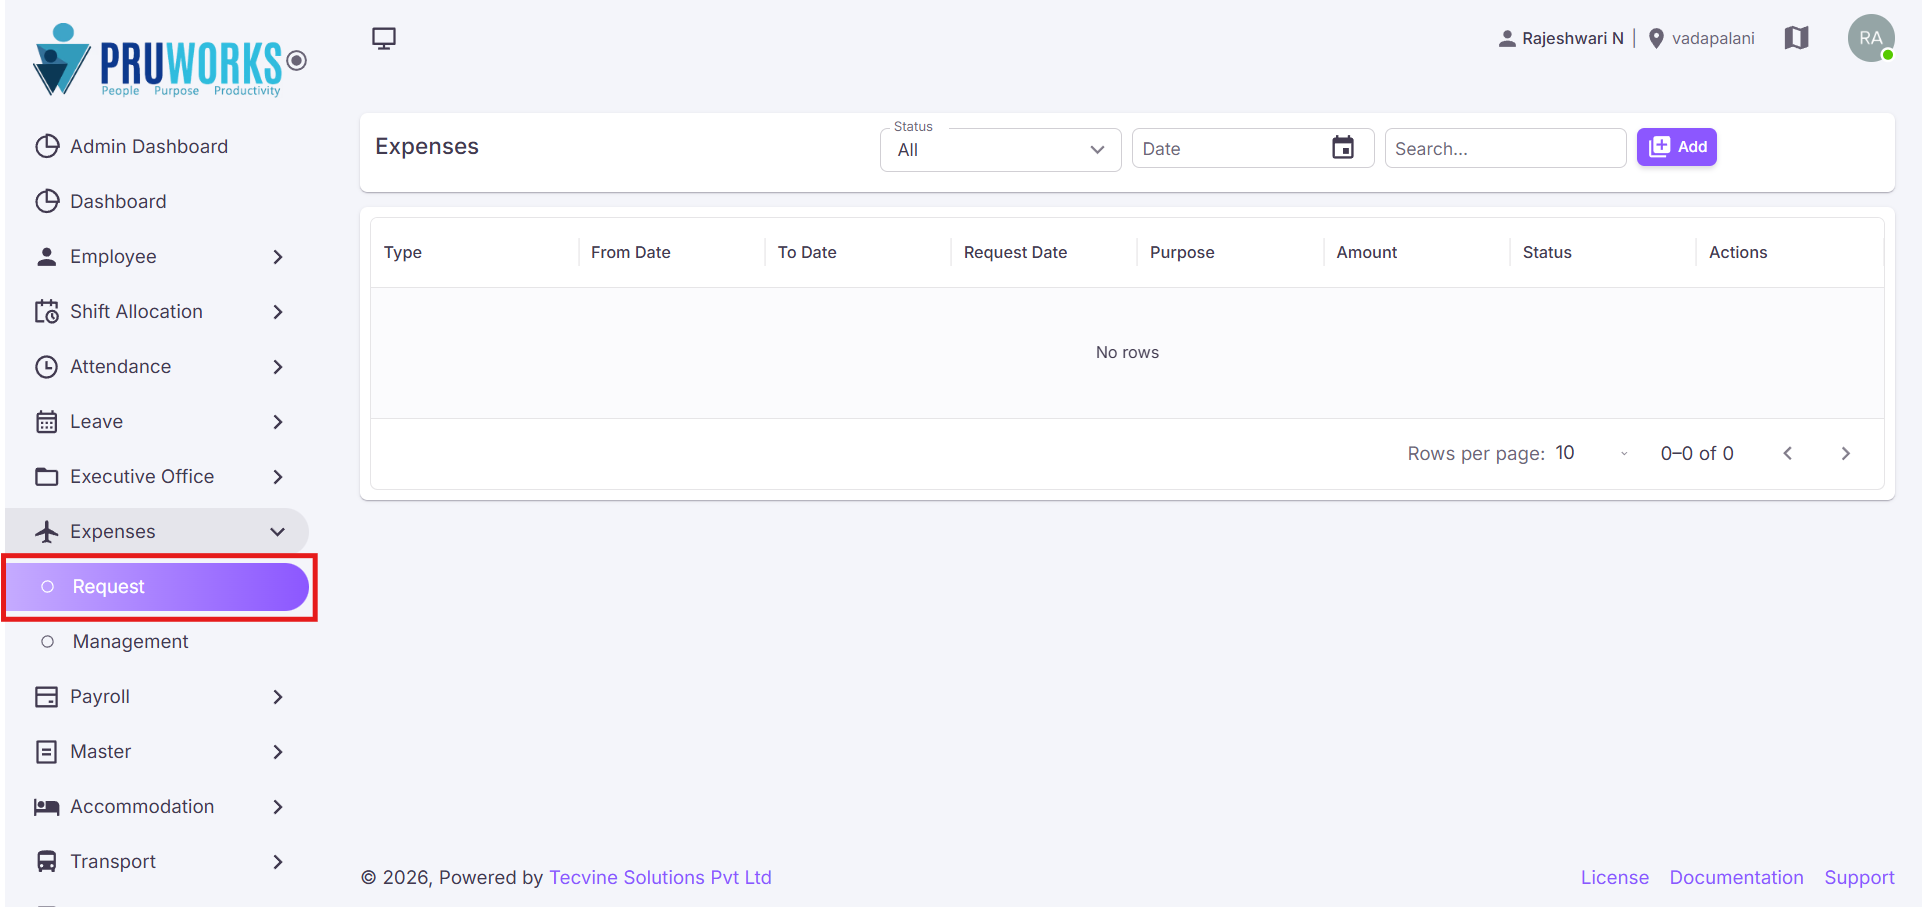
- Click Expense Request sub menu.
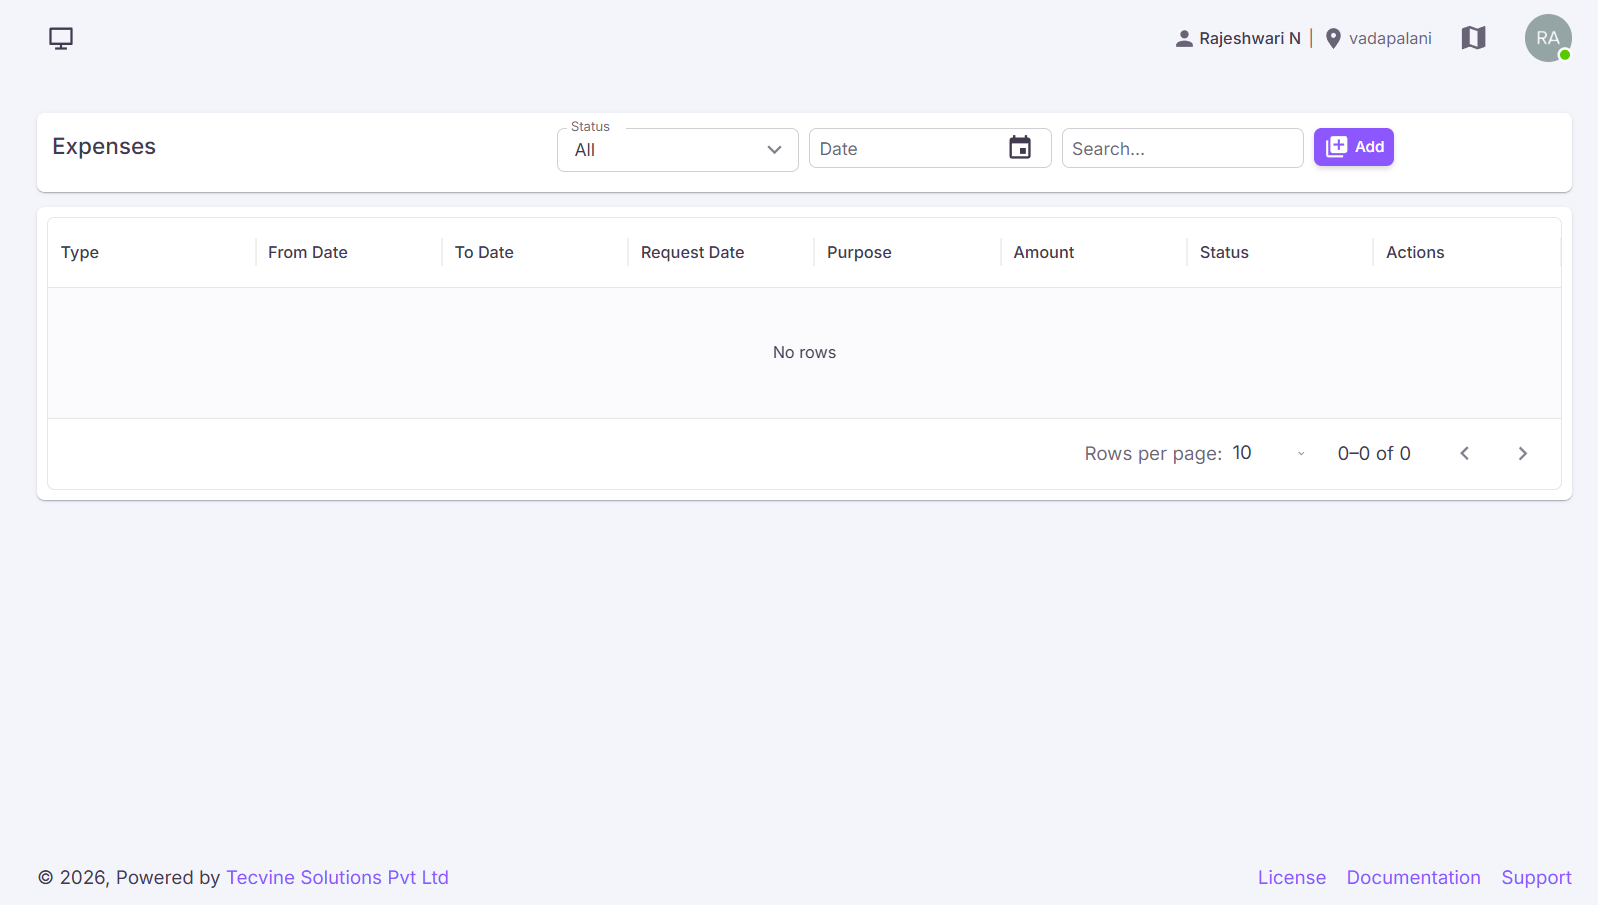
- The Expense Request screen will be displayed.
¶ Expense Types
¶ Creating an Expense Request
The Expense Request screen is used to create and submit employee expense claims. Follow the steps below to enter expense details, add categories, upload supporting documents, and submit the request.
¶ Click the Add Button
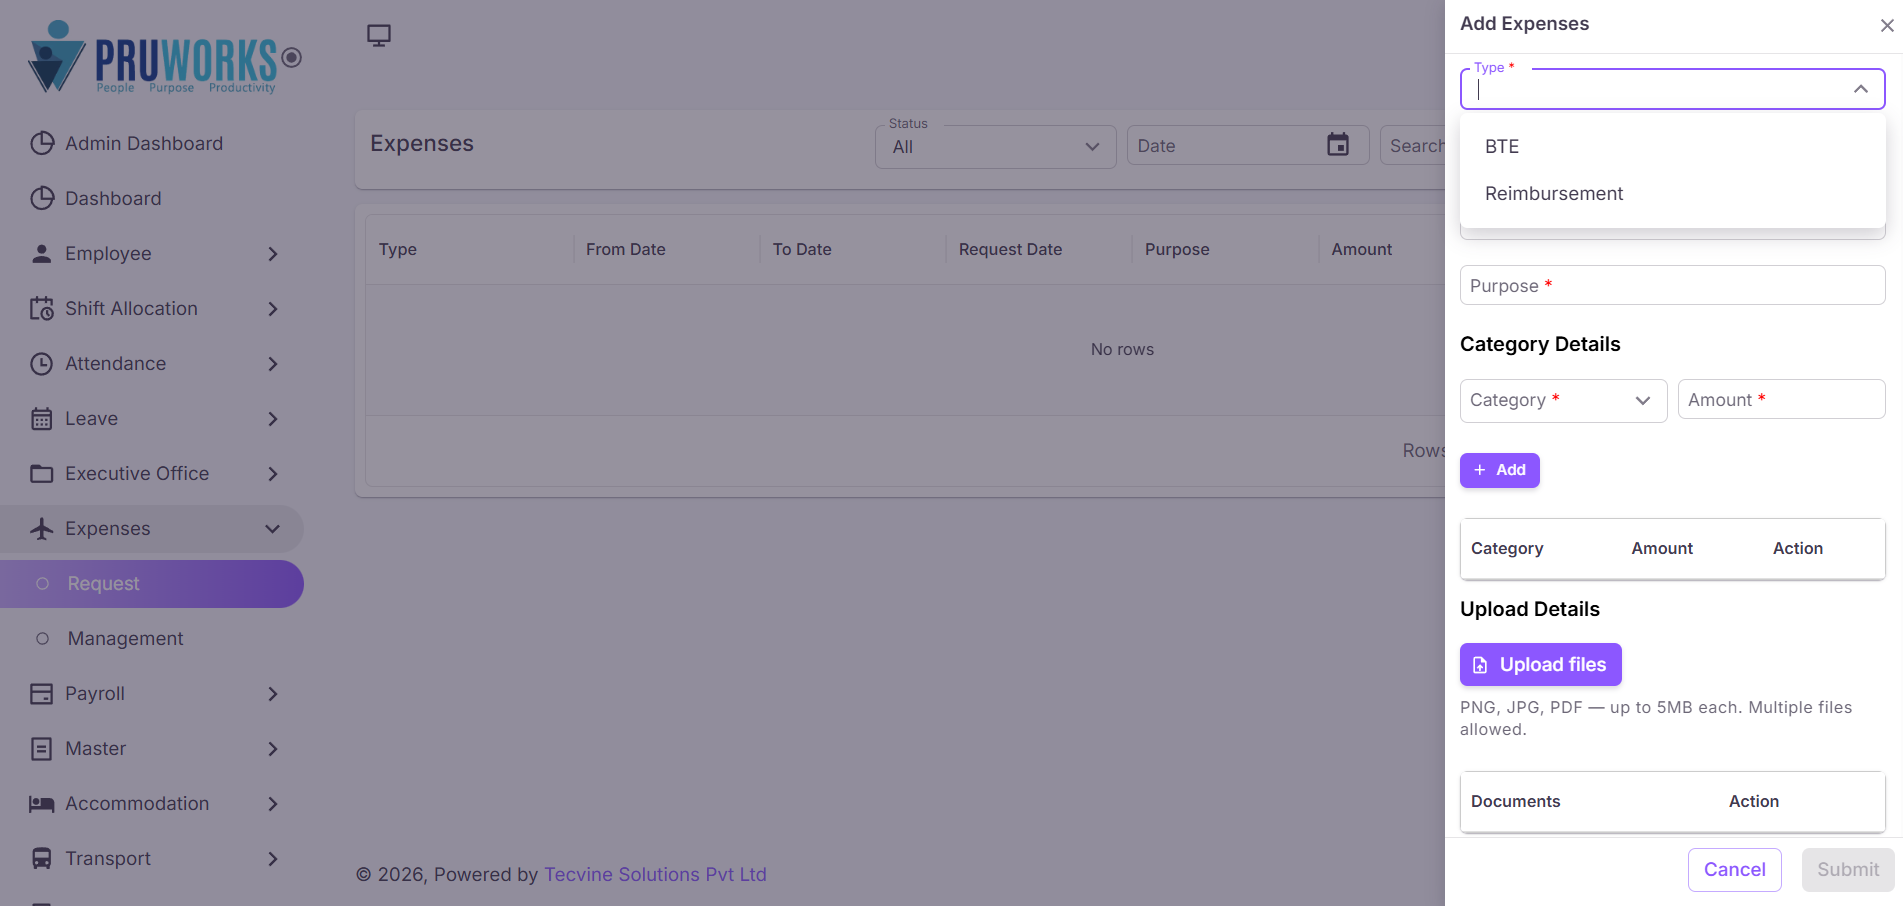
Click the Add button on the Expense Request screen.
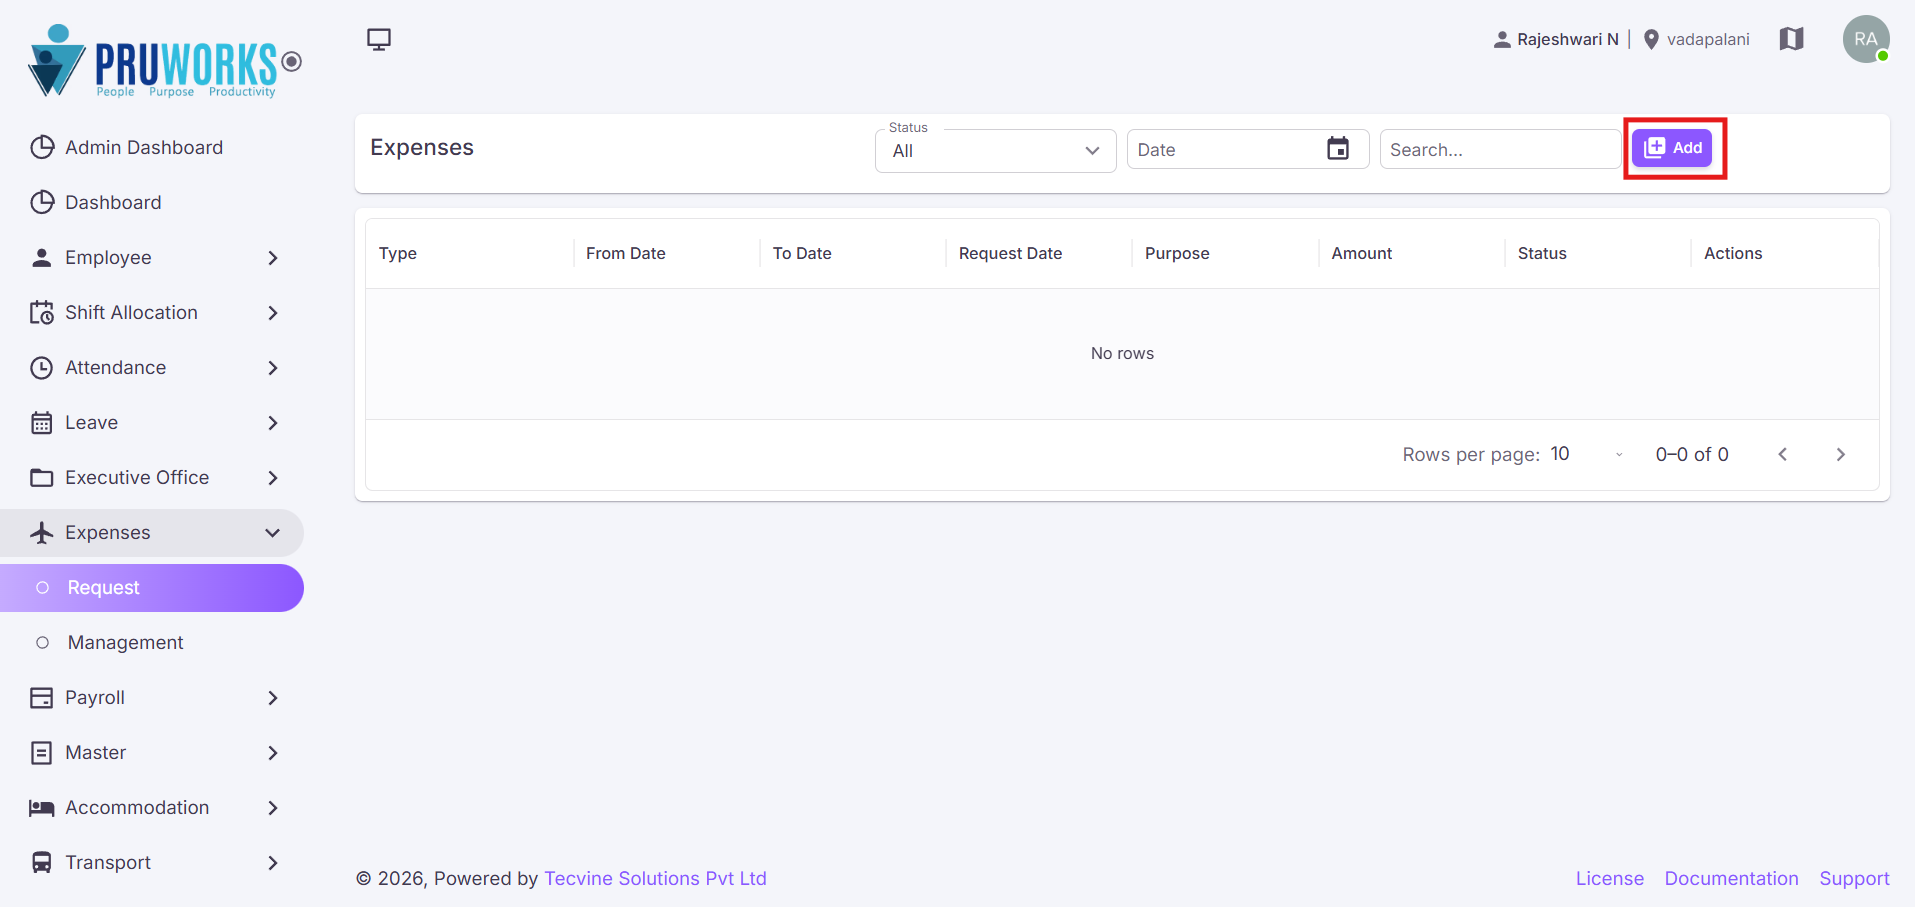
The Add Expense form will be displayed.
Continue to Step 2: Enter Expense Details →
¶ Enter Expense Details
In this section, enter the basic details of the expense claim.
| Field Name | Description |
|---|---|
| Type* |
Select the expense type from the available options:BTE (Business Travel Expense) / Reimbursement
|
| From Date* | Select the start date of the expense period. |
| To Date* | Select the end date of the expense period. |
| Purpose* | Enter the purpose or reason for the expense. |
Note: Fields marked with * are mandatory and must be filled before proceeding.
Continue to Step 3: Add Category Details →
¶ Add Category Details
Under Category Details, enter the category and amount information for the expense.
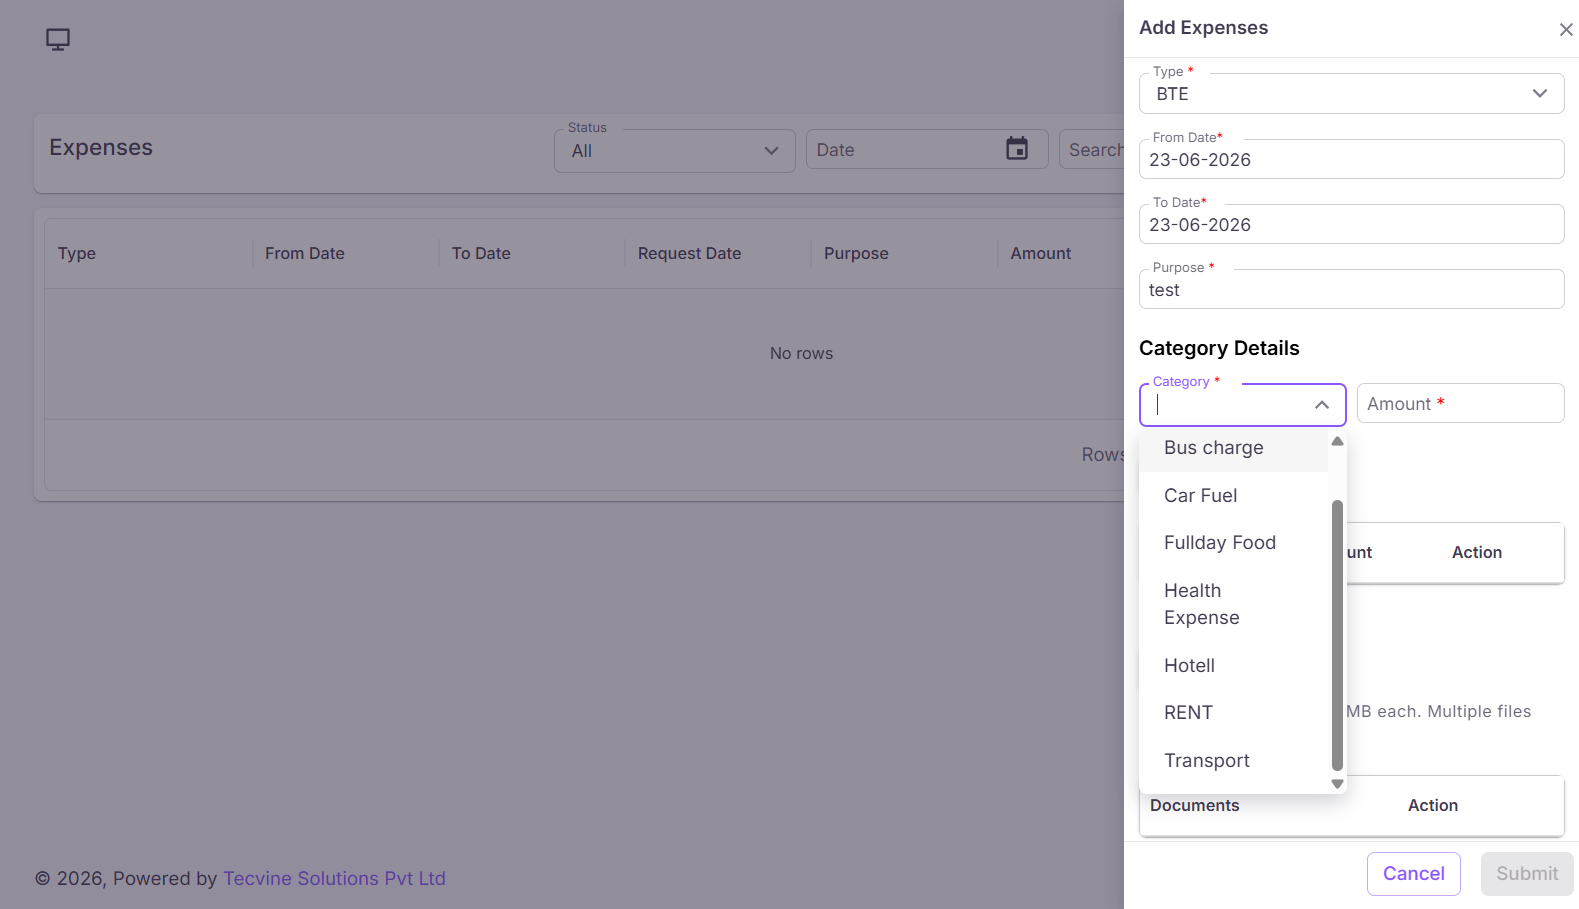
¶ Category Fields:
- Category* — Select the appropriate expense category.
- Amount* — Enter the expense amount.
Click the Add button to include the category in the expense request. Click the Delete icon to remove a category entry if required.
Continue to Upload Supporting Documents →
¶ Upload Supporting Documents
Click the Upload Files button and select the required documents to attach as proof of expense.
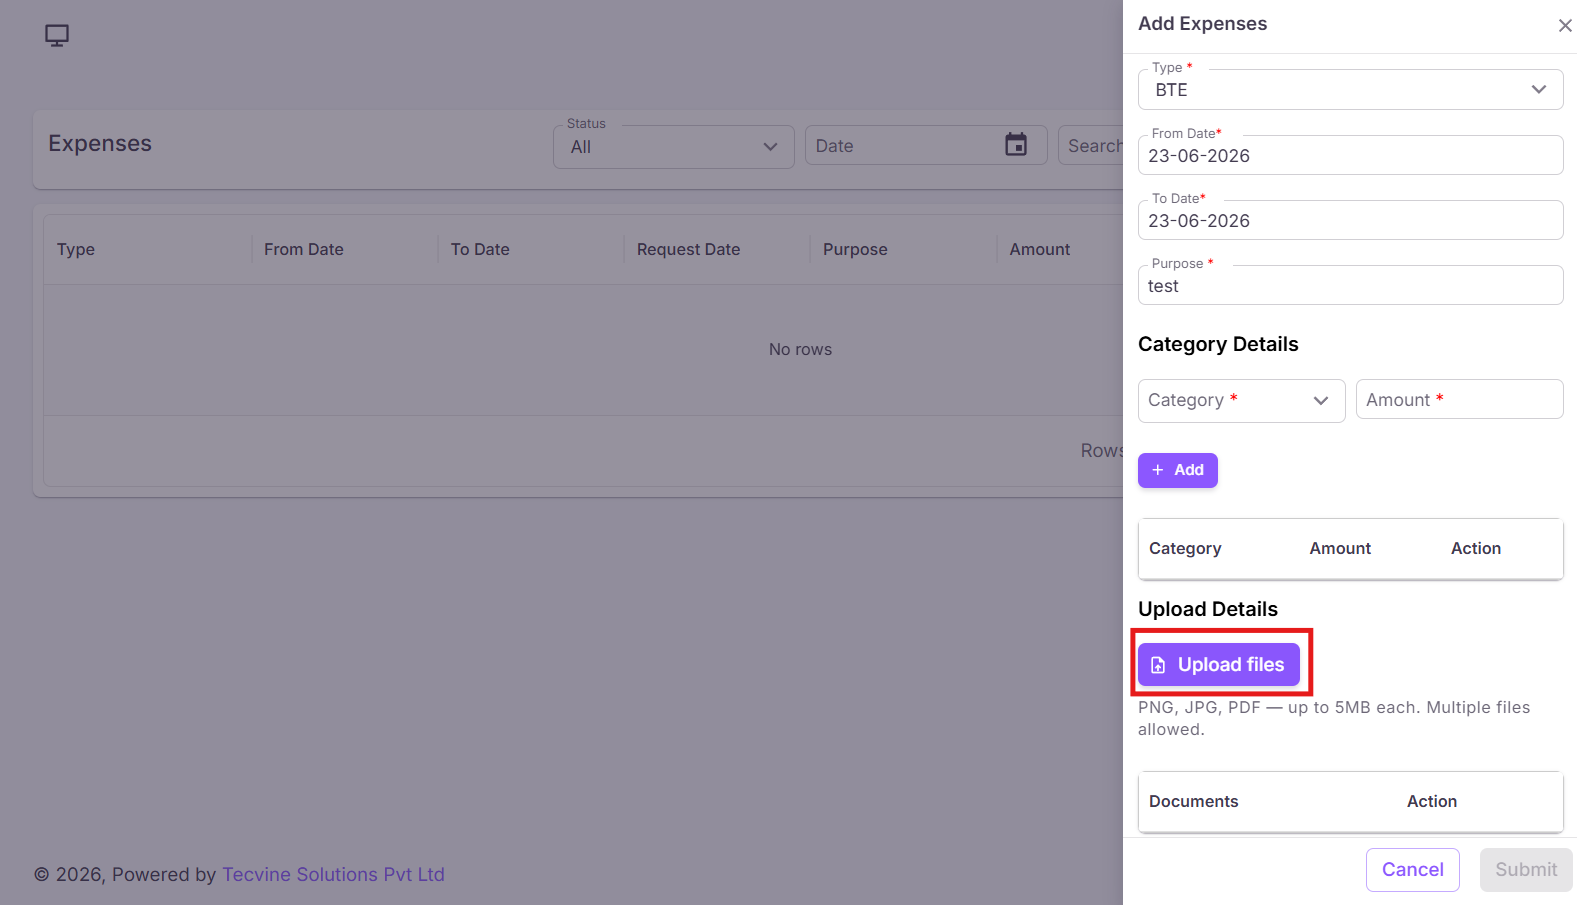
| Detail | Description |
|---|---|
| Supported Formats |
PNG / JPG / PDF
|
| Maximum File Size | 5 MB per file |
| Multiple Files | Multiple files can be uploaded at the same time. |
¶ File Actions:
- View File — Click the Eye icon to view the uploaded file.
- Delete File — Click the Delete icon if you want to remove the uploaded file.
¶ Submit Expense Request
¶ Complete the following:
- Review the entered details.
- Click the Submit button.
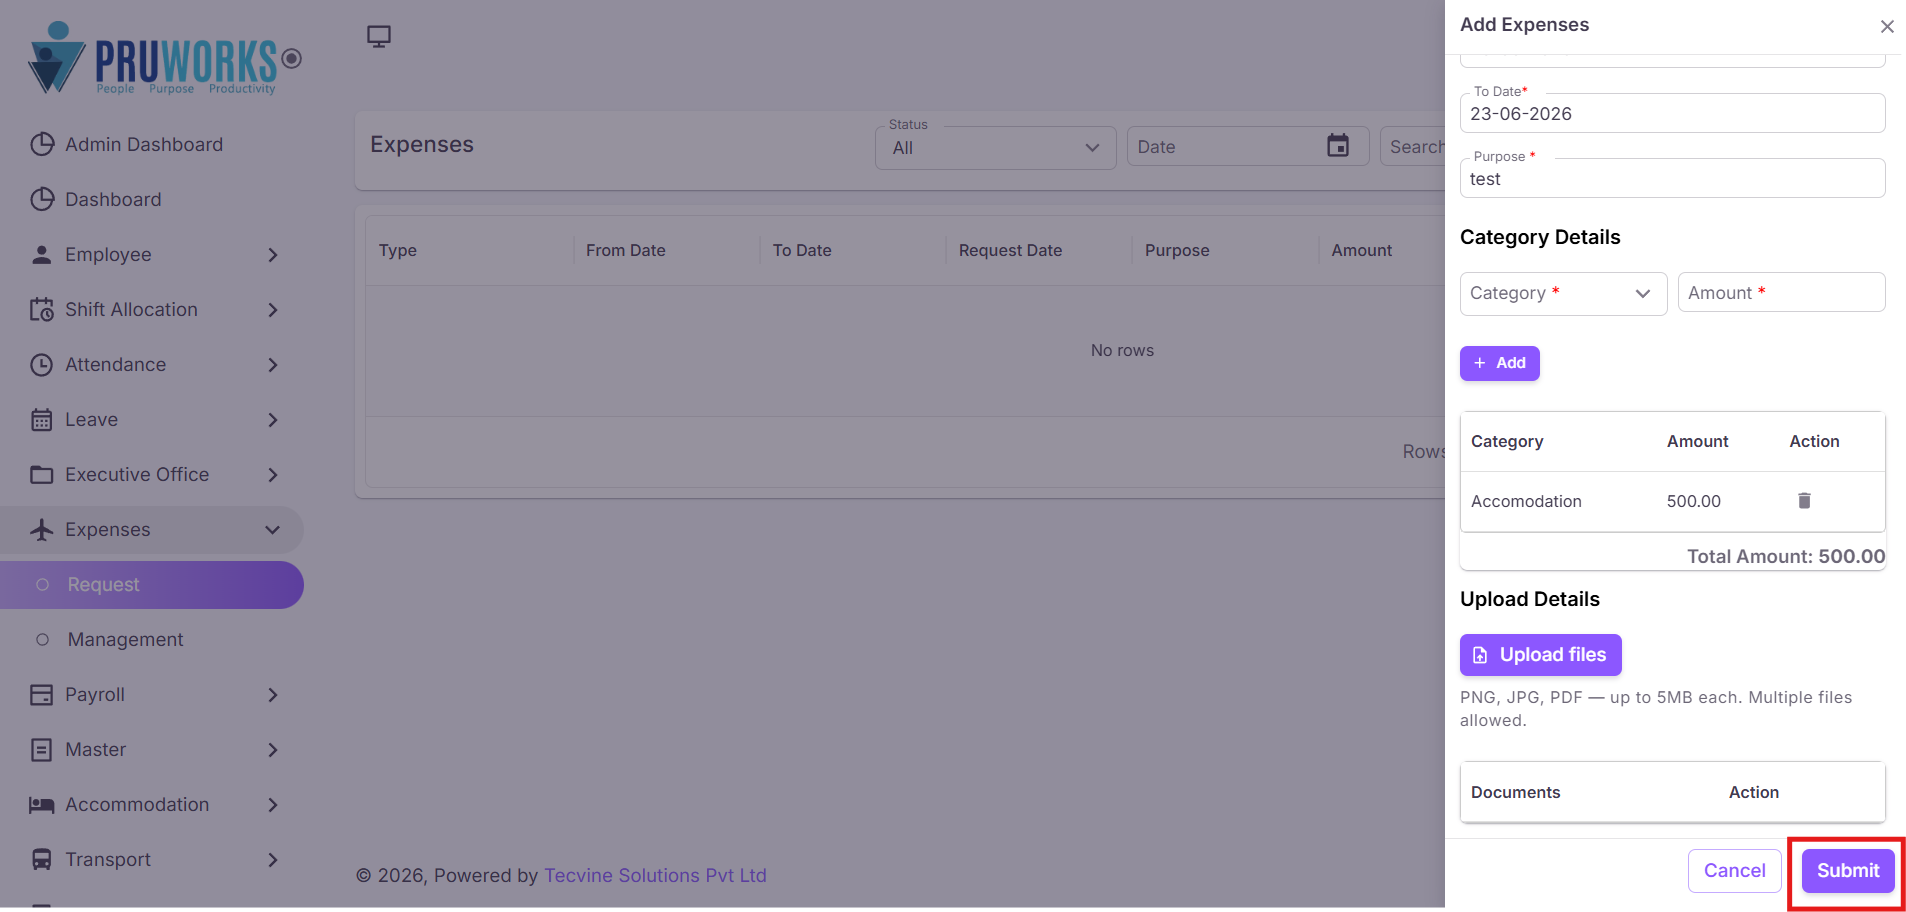
If you do not want to continue, click the Cancel button.
¶ ✓ Submission Complete
After clicking Submit, the expense request will be submitted successfully and routed to the Expense Management module for review and approval.
¶ Video Tutorial
Watch this step-by-step video guide to learn how to create a visit in the system.